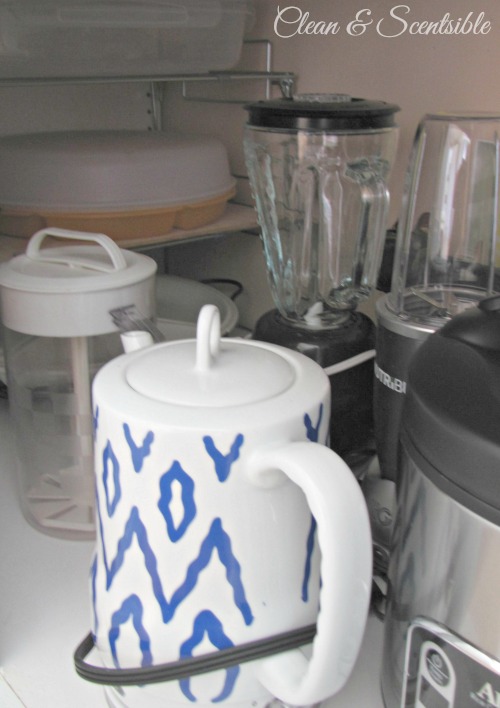
How to Organize Kitchen Cabinets
STEP 1 – PURGE
The kitchen can be a hard place to organize – there is just SO much stuff and we all love our kitchen gadgets! I have been through the kitchen a few times and thought that I actually had things quite organized. Once I actually pulled everything out of the cabinets though, I realized how much stuff I still had that I really didn’t need.
You can go through the cupboards one at a time to save on time and mess; however, if you have a lot to organize, I would recommend taking everything out of the kitchen cabinets and starting from scratch. This really allows you to see how much stuff you have and gives you a good opportunity to re-arrange what you are putting back into each cabinet. {WARNING: This may have taken me over a week to actually get everything back into the kitchen so give yourself some time!}
Now I know that it can sometimes be hard to get rid of things, but you really do need to be ruthless when you purge. Obviously, anything that is broken or you no longer love or use needs to go. As a rough rule of thumb, donate or sell non-seasonal items that have not been used in the past 6 months or seasonal items that were not used during the past season. For items that you use only once or twice per year, think if you could just borrow a similar one from a friend or family member rather than keep it around your own home. If you are not sure if you should keep it or not, set the item aside until the very end and see if there is even space left. For me, seeing how nice my organized cupboards look is enough motivation to part with those so-so items that are left.
STEP 2 – MAKE THINGS ACCESSIBLE
When you are organizing your cupboard space, there are a few things that you need to consider. Unless you really want to get down and dirty, you are probably not going to be changing around your cupboard sizes. You will need to pick cupboards that fit what you are needing to store and make sure that you are optimizing all of the space while still keeping your items easily accessible. I try to make sure that everything in the cupboard can be removed {and put back!} by removing only one other item {or block of items} at most. If you have to take out 4 or 5 items to take out what you want, chances are that you are either not going to use it or that it will not get put back properly.
Place items that you rarely use on higher shelves or towards the back of cupboards so that frequently used items can be grabbed easily. For smaller items on top shelves, I love these fold down units. {I purchased mine at Walmart}

If you have kiddos, you might also want to have a kids’ cupboard so that they can easily reach all of their own kitchen items. Ours holds the kids’ plastic dishes, bowls, cups, lunch bags, and lunch containers.
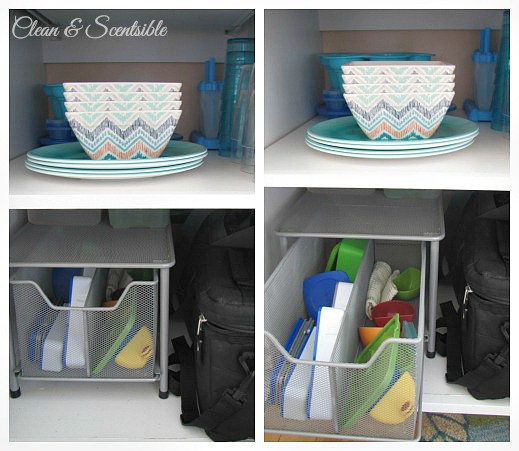
Using slide out bins or drawers also helps to be able to reach items in the back and keeps smaller items contained. This was an old drawer that I had been using underneath our kitchen sink but was too tall once the new {deeper!} sink was installed.
STEP 3 – ARRANGE ITEMS BY ZONES
Try to group all similar items together and closest to the area that you will be using them. Keep dishes, glasses, and silverware close to the dishwasher for a quick and easy put away.
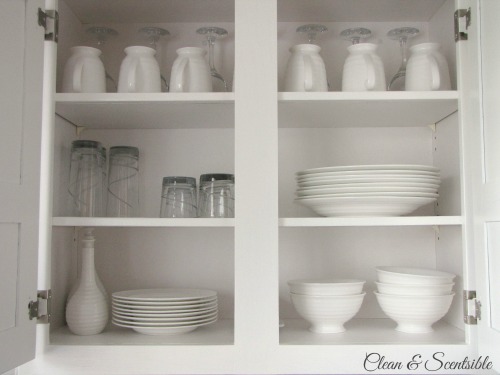
Group cooking items and baking items together and keep these located close to the stove. I have all of our cooking items {other than the larger kitchen appliances} located in the cupboards on either side of the stove and most of the cookbooks stored in the cabinet overhead.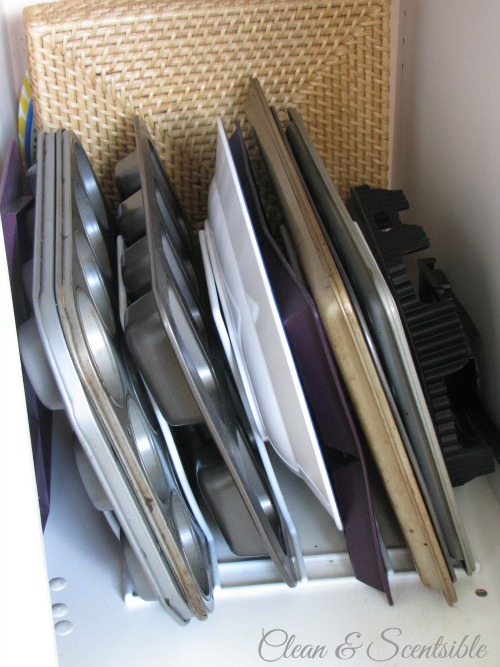
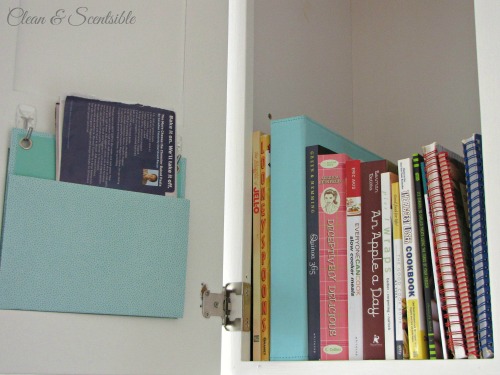
I used removeable Command hooks to hold some file folders from Staples to the inside of the cupboard doors above the stove to hold loose recipes that I want to try. If you are short on space, the inside of cabinets is a great way to gain a little extra storage!
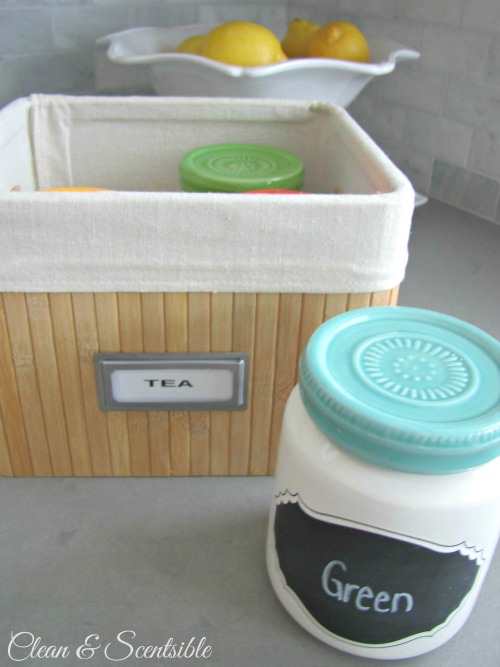
My favorite little zone is the tea zone by the breakfast bar. I don’t actually like drinking coffee but love steamed and frothed milk and various teas. This cupboard space was freed up following my kitchen purge and gave me room to create a little fun area of my own.
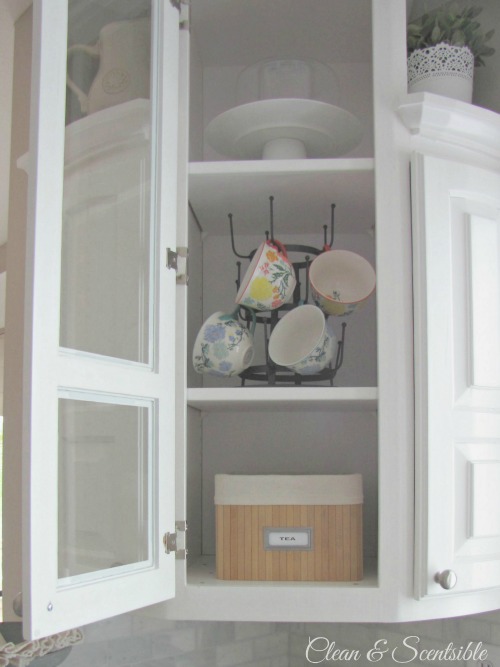
All of our different teas are stored in these cute jars from Michaels and then placed in a bin for easy access.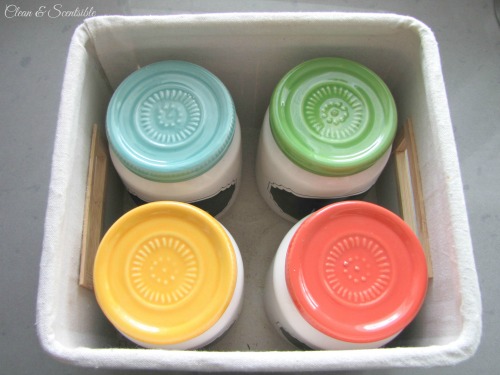
STEP 4 – COME UP WITH WAYS TO USE POORLY DESIGNED SPACES
I think that it is safe to say that most of us have at least one space in the kitchen that just seems like useless space. The side cupboard in our corner cupboard unit is such an awkward size for storage and its location makes it difficult to reach items. Using the plastic corner bins that are designed for showers, I turned it into a medicine cabinet so that we just need to pull out the bin to find what we are looking for.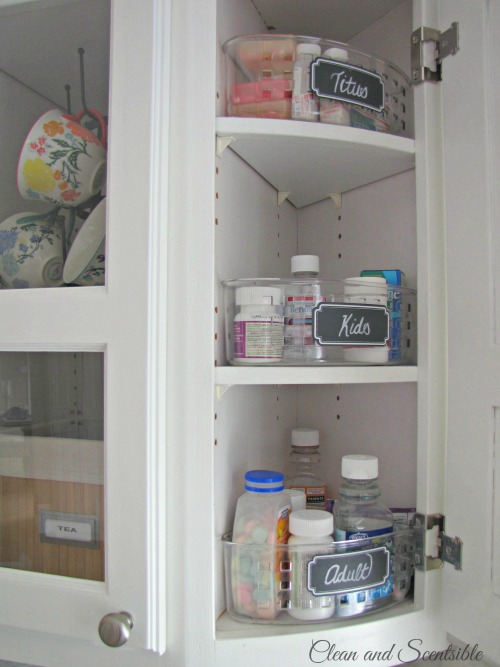
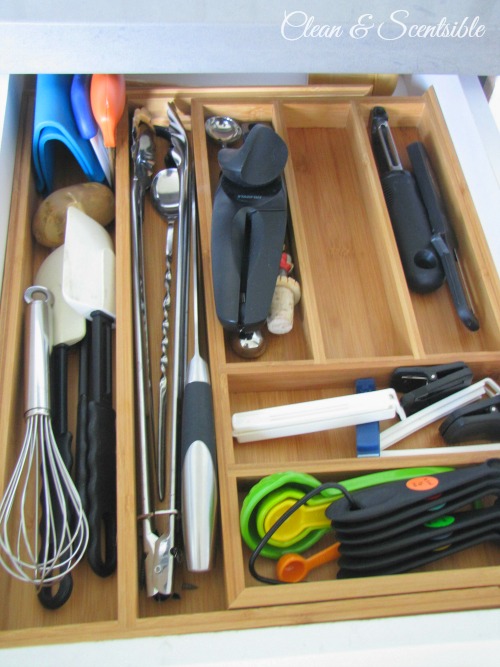
For small or uncommon drawer sizes, you can purchase interchangeable drawer dividers to organize smaller items. This one was purchased at Bed, Bath, and Beyond and I know Ikea has similar options.
In order to utilize all of the vertical space in our cabinets, I purchased some adjustable metal shelves last year. When I re-arranged the cabinets this year, I realized that the shelves could actually be stacked on each other {I have no idea why I did not figure this out sooner!} which ended up doubling my storage space.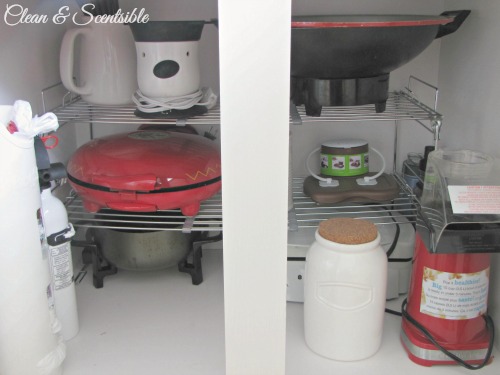
STEP 5 – HAVE A JUNK DRAWER
The kitchen always seems to have a ton of miscellaneous little items that don’t really seem to fit anywhere. We created an organized “junk drawer” for these using small office dividers and it is probably one of the most used drawers in the kitchen. Just make sure it is useful junk!

